
The Science of Spatial Optimization

Circadian Light Hygiene
Restoring natural sleep signals by eliminating artificial blue light wavelengths. Learn how managing ambient light exposure regulates uninhibited melatonin production.

Thermal Regulation
Aligning bedroom temperatures with the body’s circadian clock. A look at how optimizing environmental cooling facilitates deeper REM cycles.

Surface Mitigation
Minimizing systemic stress by shielding the sleeping area. How reducing ambient electromagnetic exposure impacts physical recovery during sleep.
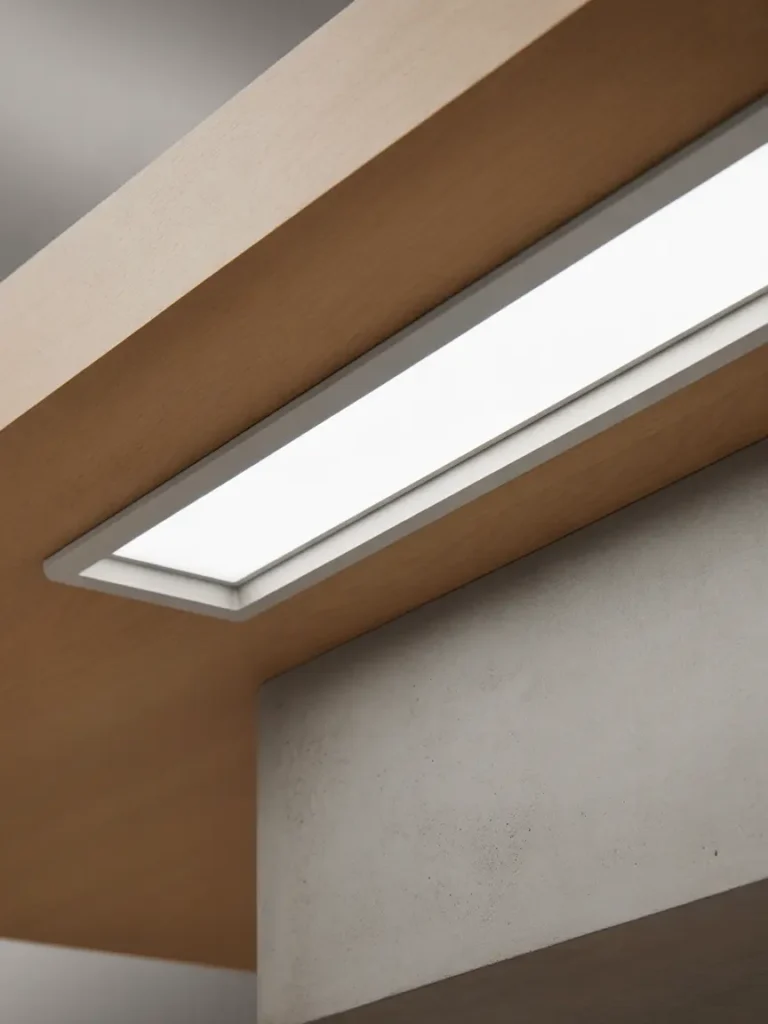
Full-Spectrum Lighting
Utilizing precise color rendering metrics to mimic natural daylight. How optimal indoor light spectrums boost focus and reduce neurological fatigue.

Atmospheric Exchange
Controlling carbon dioxide levels to sustain cognitive clarity. Why managing fresh air parameters protects energy levels throughout the workday.
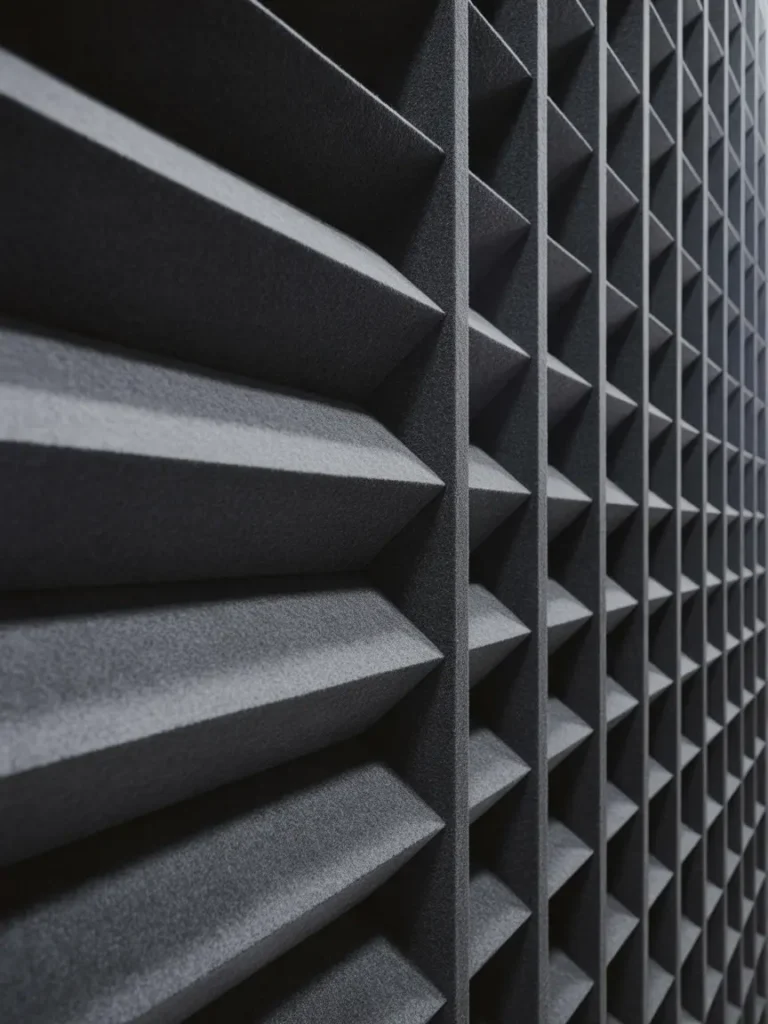
Acoustic Isolation
Engineering the soundscape to protect deep concentration. How managing environmental audio variables prevents sudden disruptions to your workflow.

Molecular Filtration
The mechanics of stripping heavy metals and microplastics from domestic water sources while restoring vital mineral profiles for optimal cellular hydration.
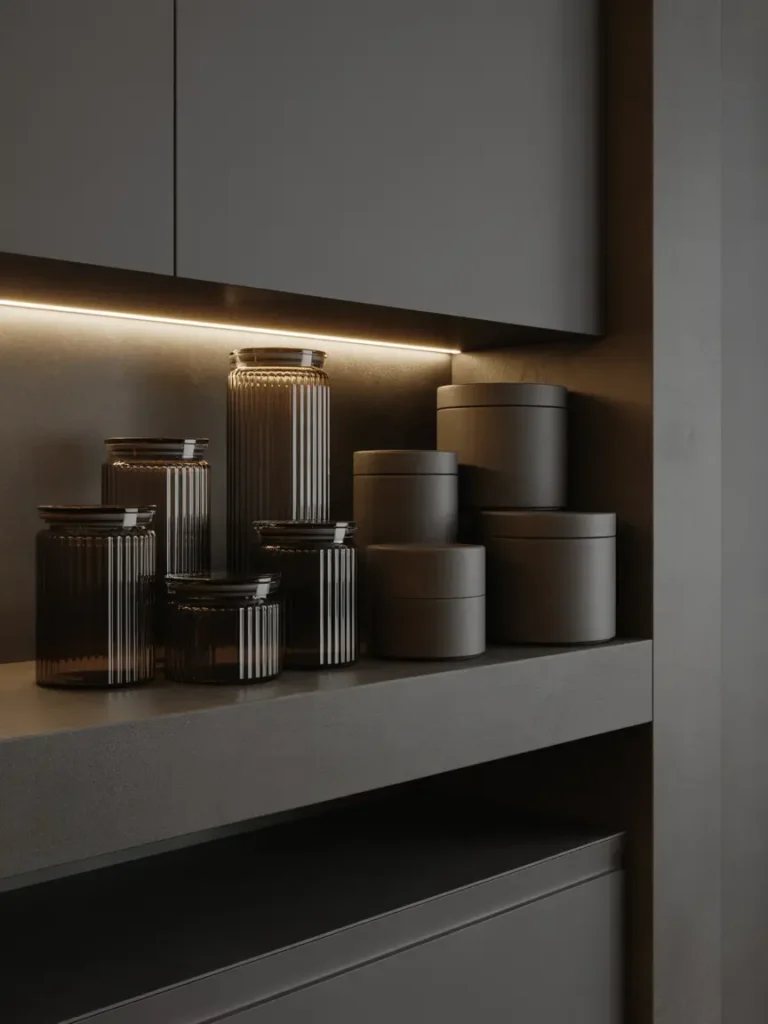
Oxidation Control
Protecting whole food properties through careful storage environments. How managing light and atmosphere preserves delicate micronutrient stability.
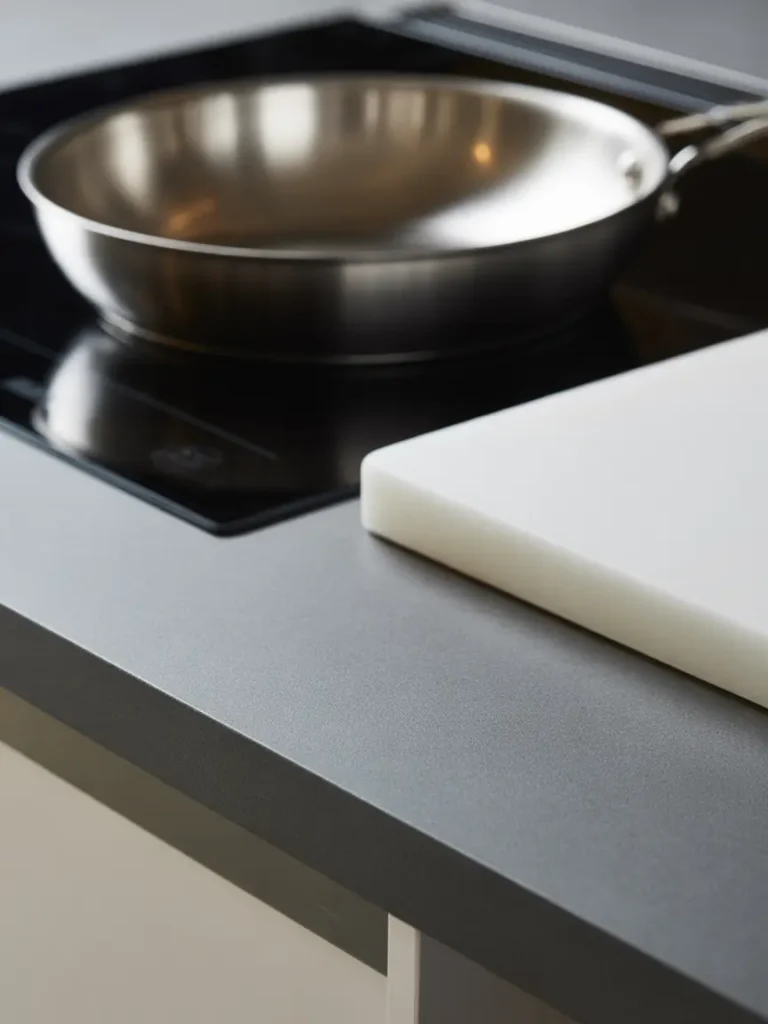
Inert Prep Surfaces
Eliminating hidden chemical exposure from everyday cooking. A look at why standardizing non-reactive materials stops toxic leaching into your fuel.
The Restorative Bedroom Architecture
The 5-Step Protocol for Absolute Dark Hygiene
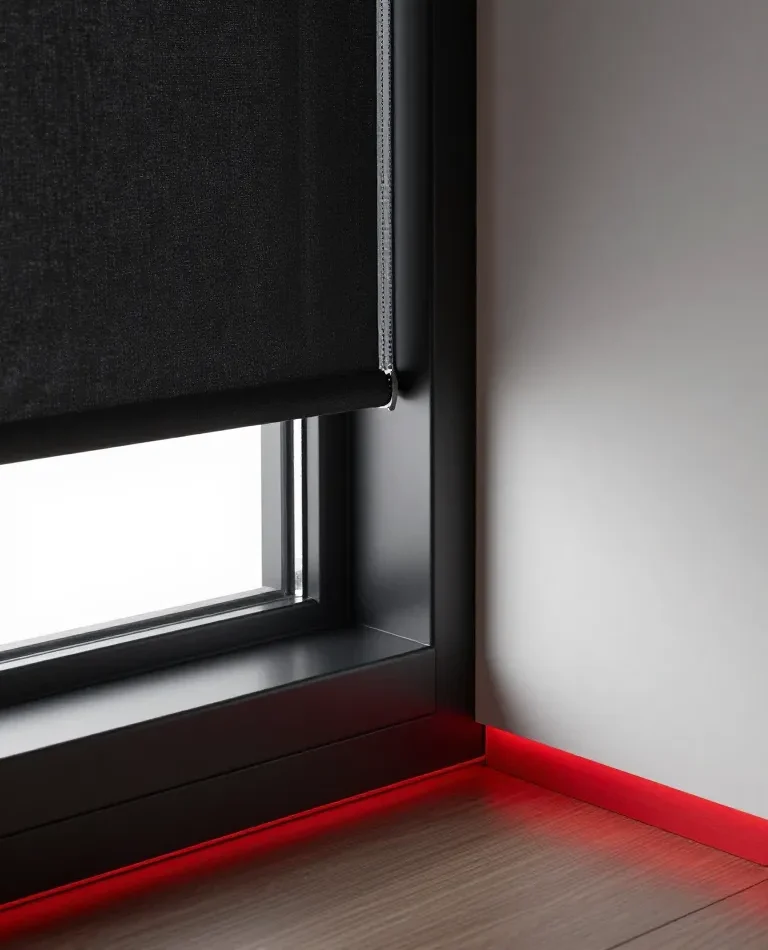
1. Install Side-Channel Track Shades: Standard curtains bleed light along the edges. Upgrade to blackout shades fitted with side-channels that lock the fabric flush against your window casing to completely block external light vectors.
2. Mask Hidden Device LEDs: Unconscious sleep disruption is frequently caused by micro-indicator lights on electronic devices. Apply specialized, opaque black masking tape over power bricks, monitor standby lights, and charging docks.
3. Install an Acoustic Door Sweep: Light bleeding from adjacent hallways under the door alters circadian tracking. Mount a heavy, non-porous door sweep to seal the threshold completely.
4. Deploy Low-Voltage Red Lighting: If you must navigate at night, replace overhead lighting with low-velocity, pure red LED baseboard strips ($660\text{ nm}$). Red spectrum light provides clear visibility without suppressing melatonin synthesis.
5. Optimize Exterior Window Canopies: Drop external light pollution from streetlamps before it ever interfaces with your glass by installing deep structural awnings or arranging dense, biophilic window foliage outside.
The Ideal Temperature Setup for REM Cycles
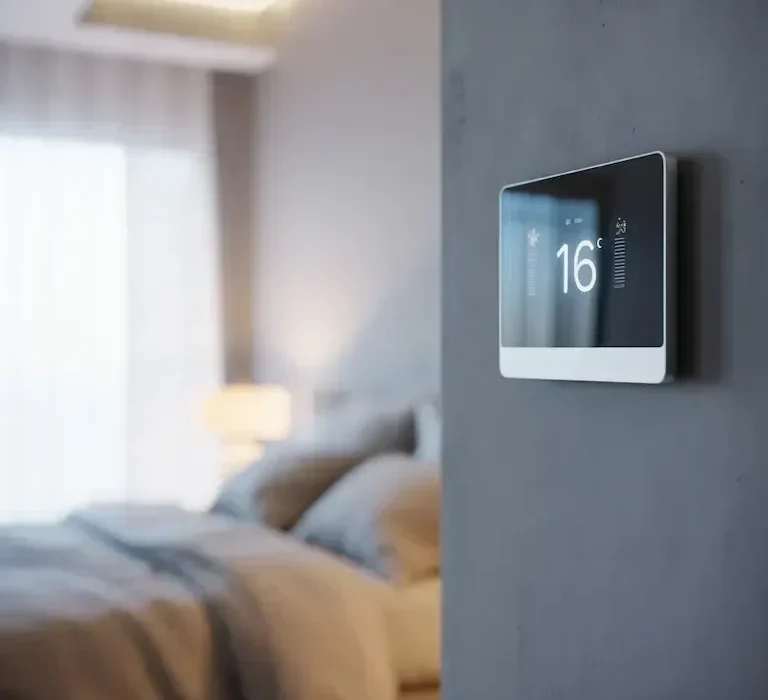
Step 1: Set the Ambient Thermostat Baseline Program your home climate system to lower the bedroom temperature to between 15°C and 18°C exactly 90 minutes before your target sleep window. This sharp drop signals your central nervous system to shift into a restorative parasympathetic state.
Step 2: Optimize Material Hydrodynamics Strip away synthetic polyester sheets or heavy duvets that trap moisture and radiant heat. Replace them with highly breathable, bio-harmonized fabrics like long-staple linen or unbleached organic cotton to maximize natural evaporative cooling.
Step 3: Establish Continuous Low-Velocity Airflow Set a low-decibel ceiling fan or air purifier to a non-directed, circulating setting. Moving air continuously breaks up stagnant thermal pockets directly above the mattress surface, preventing micro-awakenings caused by heat spikes.
The 3-Step Grounding Checklist
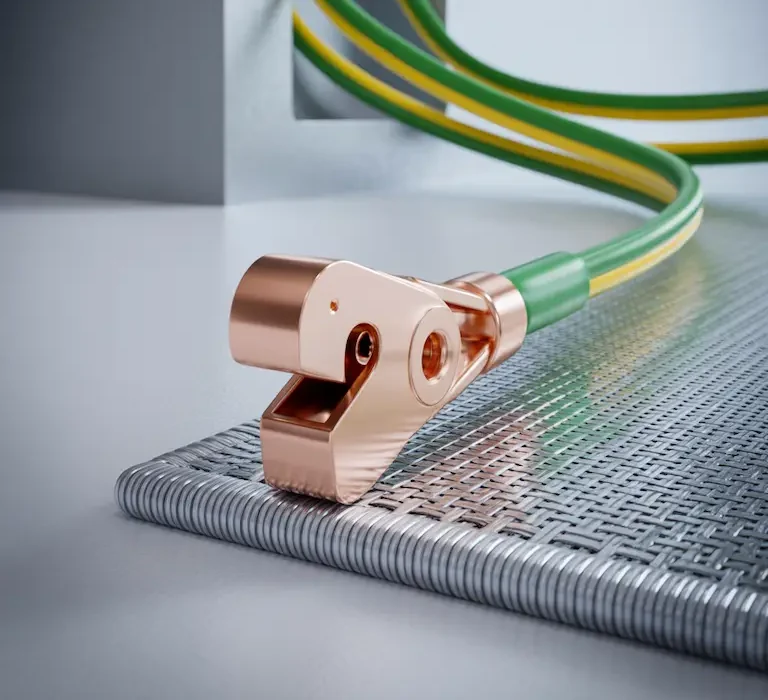
Step 1: Establish True Earth Potential Route a dedicated, heavy-gauge copper grounding wire directly from a conductive mattress grounding sheet, passing out through a window frame or wall conduit to an external copper grounding rod driven directly into raw soil.
Step 2: Validate System Continuity Utilize a simple digital multimeter to verify that the resistance levels between your bed surface and the outside ground rod read near zero. This ensures the physical connection is active and drawing body voltage away.
Step 3: De-Energize the Local Wall Grid Before sleeping, manually switch off the specific circuit breakers feeding the outlets inside your bedroom walls. This completely eliminates the alternating current (AC) electrical fields that constantly radiate from indoor wiring.
The Cognitive Office Layout
The Ultimate High-CRI Desk Lighting Setup
1. Standardize to High-CRI LED Arrays: Replace cheap, flickering office bulbs with high-Color Rendering Index (CRI of 95 or higher) LED sources. This ensures a full, continuous color spectrum that reduces optic nerve strain and head tension during long reading blocks.
2. Align to High Blue-Weighted Kelvins: Deploy lighting balanced between 5000K and 6500K during your morning work hours. This specific blue-weighted spectrum targets your eyes’ melanopsin receptors, suppressing daytime melatonin and stimulating optimal cortisol and dopamine release for high alertness.
3. Eliminate Direct Visual Glare: Position your primary light sources completely out of your direct line of sight. Use indirect upward-facing fixtures or high-end architectural downlights to bounce clean light off walls or ceilings, removing distracting hot spots.
4. Introduce Task-Specific Counter-Balancing: Place a dedicated task monitor light bar directly over your screen. This balances the high contrast between a bright monitor and a dark desk surface, preventing the microscopic eye-muscle fatigue that causes afternoon crashes.
5. Implement Automated Evening Declination: Program your workspace lighting to automatically transition to warm, dim, non-blue spectrums (under 2700K) after 4:00 PM to protect your natural sleep onset pathway.


The Carbon Dioxide Mitigation Protocol
Step 1: Track the Baseline Parameters: Install a dedicated NDIR (Non-Dispersive Infrared) carbon dioxide monitor directly at desk level. This gives you a continuous, accurate reading of the air quality right where you breathe, catching dangerous ppm spikes before you feel tired.
Step 2: Force Continuous Fresh Air Extraction: Set up a dedicated energy recovery ventilator (ERV) or implement a strict mechanical cross-ventilation schedule. Opening opposite windows even two inches every 90 minutes flushes built-up carbon dioxide out, keeping levels safely below 600 ppm.
Step 3: Deploy Advanced Botanical Co-Factors: Arrange highly active, large-leaf biophilic elements like Snake Plants or Peace Lilies inside your immediate breathing zone to naturally absorb trace ambient toxins and minor carbon compounds as you work.
The 3-Step Focus Soundscape Checklist
Step 1: Install High-Density Acoustic Absorption Panels Mount three-inch dense fiberglass or felt acoustic panels directly on the primary reflection walls behind and opposite your desk. This traps bouncing sound waves, deadening the room echo and keeping your audio field calm.
Step 2: Implement Low-Frequency Pink Noise Profiles Run a continuous, dedicated pink noise or brown noise sound profile through premium, flat-response desk speakers. Unlike white noise, pink noise deeper frequencies mask distracting external sounds perfectly without overstimulating your brain.
Step 3: Seal the Structural Core Flaws Apply heavy acoustic silicone caulking around your office wall baseboards and upgrade your door to a solid-core frame. Sealing these tiny structural air gaps blocks high-frequency noise from traveling through the rest of the house.

The Pristine Biological Sanctuary
The Three-Stage Cellular Hydration Protocol
1. Deploy a Reverse Osmosis Core: Install a high-pressure semi-permeable membrane system beneath your source. This forces water through a microscopic mesh, rejecting up to 99% of dissolved solids, heavy metals, and microscopic plastic filaments at a cellular level.
2. Integrate a Catalytic Carbon Block: Ensure your system utilizes specialized catalytic carbon rather than standard charcoal. This advanced pore structure chemically binds and completely eliminates complex volatile organic compounds (VOCs) and chloramine chains that easily bypass basic pitchers.
Establish Mineral Restoration: Pass the ultra-pure water through an organic, biocompatible media bed containing pure calcium and magnesium carbonate. This gently re-mineralizes the fluid, raising the pH to a smooth, biocompatible alkalinity that mirrors pristine natural springs.


The Photo-Oxidation Prevention Protocol
Step 1: Enforce Amber Glass Shielding: High-energy ultraviolet and blue light spectra cause rapid photo-oxidation. Store all liquid fats, oils, and dry raw whole foods exclusively in thick, heavy amber glass or opaque dark ceramic containers to completely block destructive light wavelengths.
Step 2: Command Atmospheric Subjugation: Continuous exposure to ambient air rapidly breaks down fragile vitamin profiles. Utilize heavy, airtight mechanical lids or custom vacuum-sealing canisters to minimize free oxygen within your storage, effectively arresting the oxidation process.
Step 3: Secure Thermal Stabilization: Maintain an unbroken, precise temperature boundary in your storage zone. Keeping ambient storage cool and highly stabilized prevents volatile organic nutrients from breaking down prematurely before preparation.
The 3-Step Non-Reactive Culinary Checklist
Step 1: Standardize Exclusively on 18/10 Stainless Steel Replace all synthetic non-stick pans with heavy-gauge, marine-grade 18/10 stainless steel or uncoated cast iron. This provides a completely non-porous, inert cooking boundary that never reacts with acidic foods or leaches toxic polymers under high-heat searing.
Step 2: Eradicate Porous Microplastic Cutting Boards Discard all plastic and composite cutting blocks, which shed thousands of microscopic plastic particles directly into your food per chop. Replace them permanently with heavy, high-density, completely inert white ceramic prep blocks.
Step 3: Transition to Chemically Inert Solid Stone Countertops Ensure your primary raw ingredient preparation zone uses solid, unsealed natural stone or dense quartz. This guarantees that raw food materials never absorb synthetic resin residues or industrial chemical switch-cleansers from the surface area.